About the keyboard
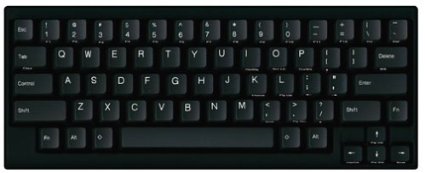
Amazon's Product Image
I've used the Happy Hacking Keyboard Lite 2 since about halfway through college. I bought it because I liked its small size, and it's CAPS → Control key replacement. These features make up for the rubber dome switches it uses.
However, years of use have resulted in gunk buildup in the keyboard. I wanted to clean it up. I didn't find very helpful results while searching online, so I'll post here what I did to clean my keyboard. It's not very complicated, but some people were suggesting dishwashing the entire keyboard, electronics and all. Don't do that.
Disassembly
The keyboard is very simple to disassemble. There are 8x Phillips Head (#1) screws on the back, with one under the DIP switch instruction sticker. Remove them and the front-plate lifts off. I cut through the sticker to expose the screw.

Back Plate. Note the hole cut in the DIP switch sticker.
The entire front cover and key assembly is made of plastic. There are no electronics in the front assembly. Therefore, it can safely be washed without damaging the keyboard. The keys are clipped into the front cover with small plastic tabs on the back, which must be pressed in to release the keys. I used needle-nose pliers.
Un-clipping the keys is the most dangerous part of this cleaning, because breaking off a clip ruins the key, and I don't think replacement parts are sold. It is possible to snap the clips if you are not careful and squeeze too tightly with the pliers.
Top Plate
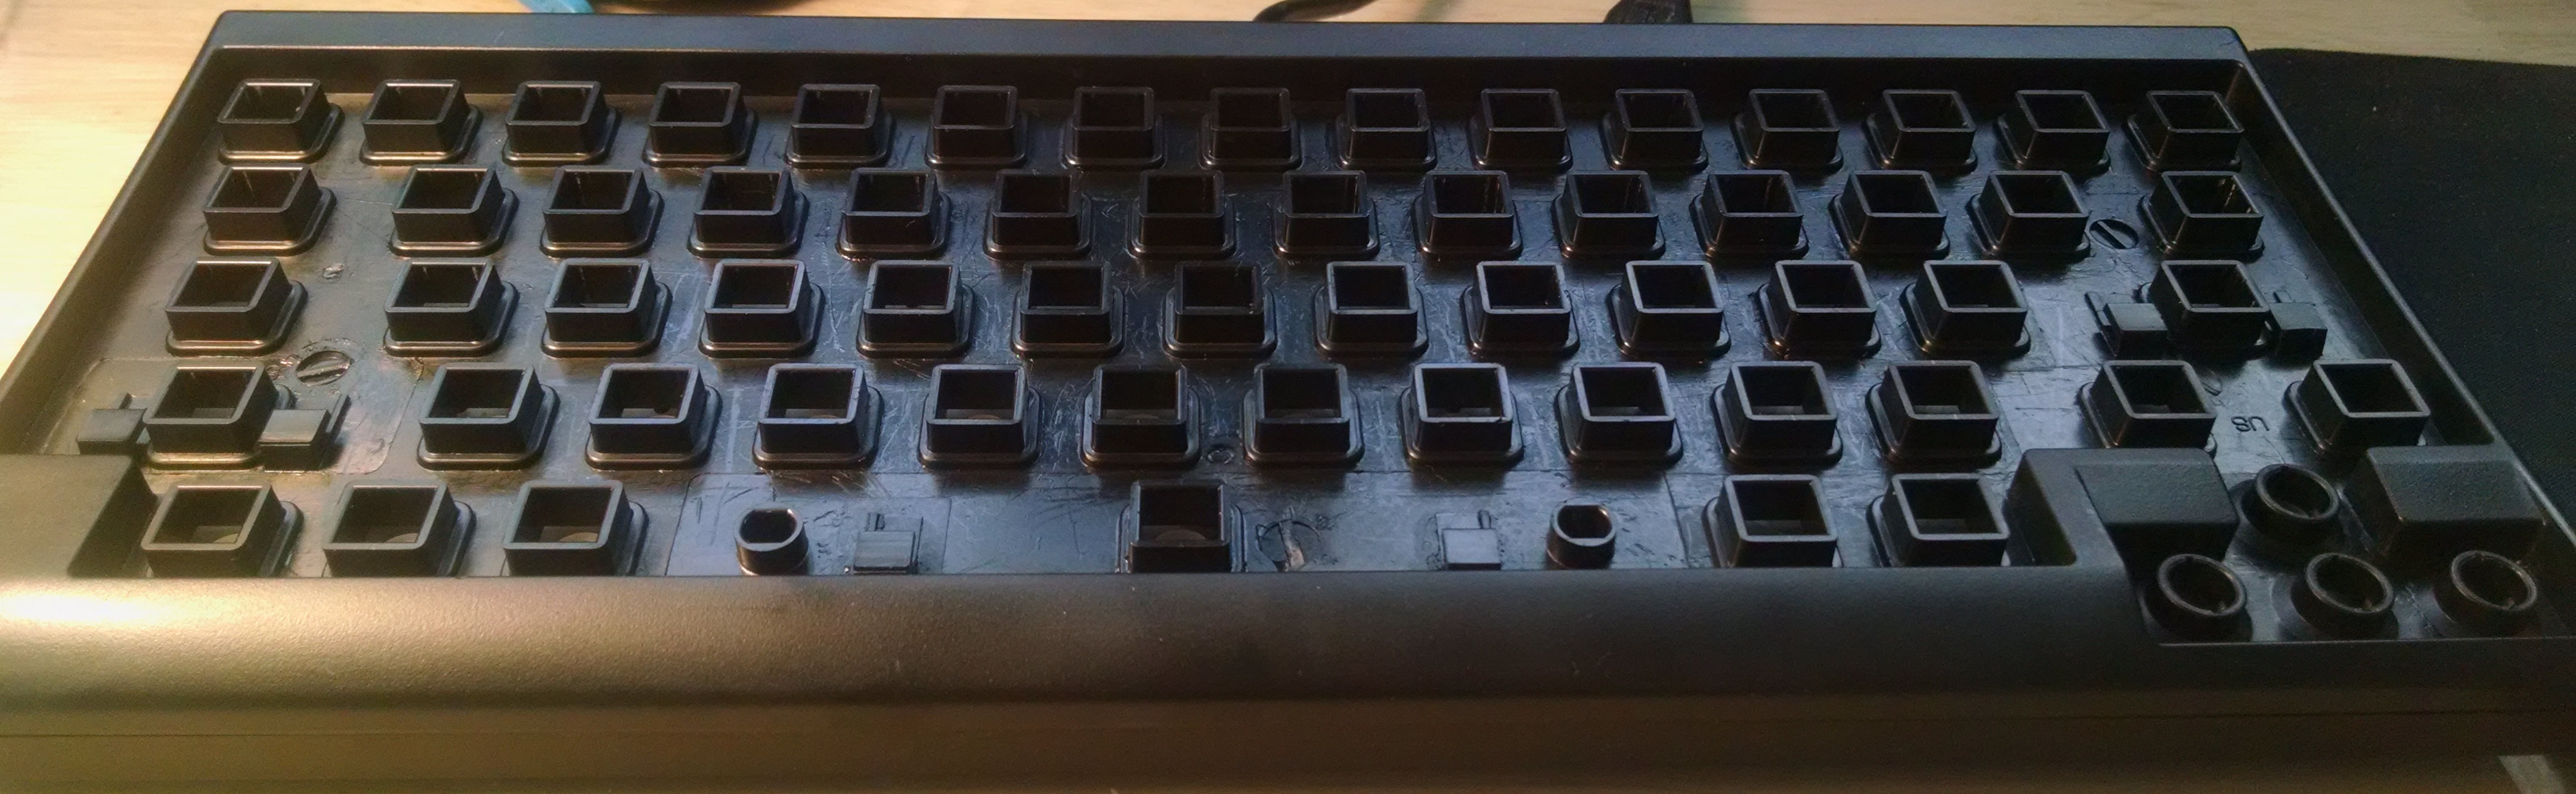
Top of the Front Plate without Keys
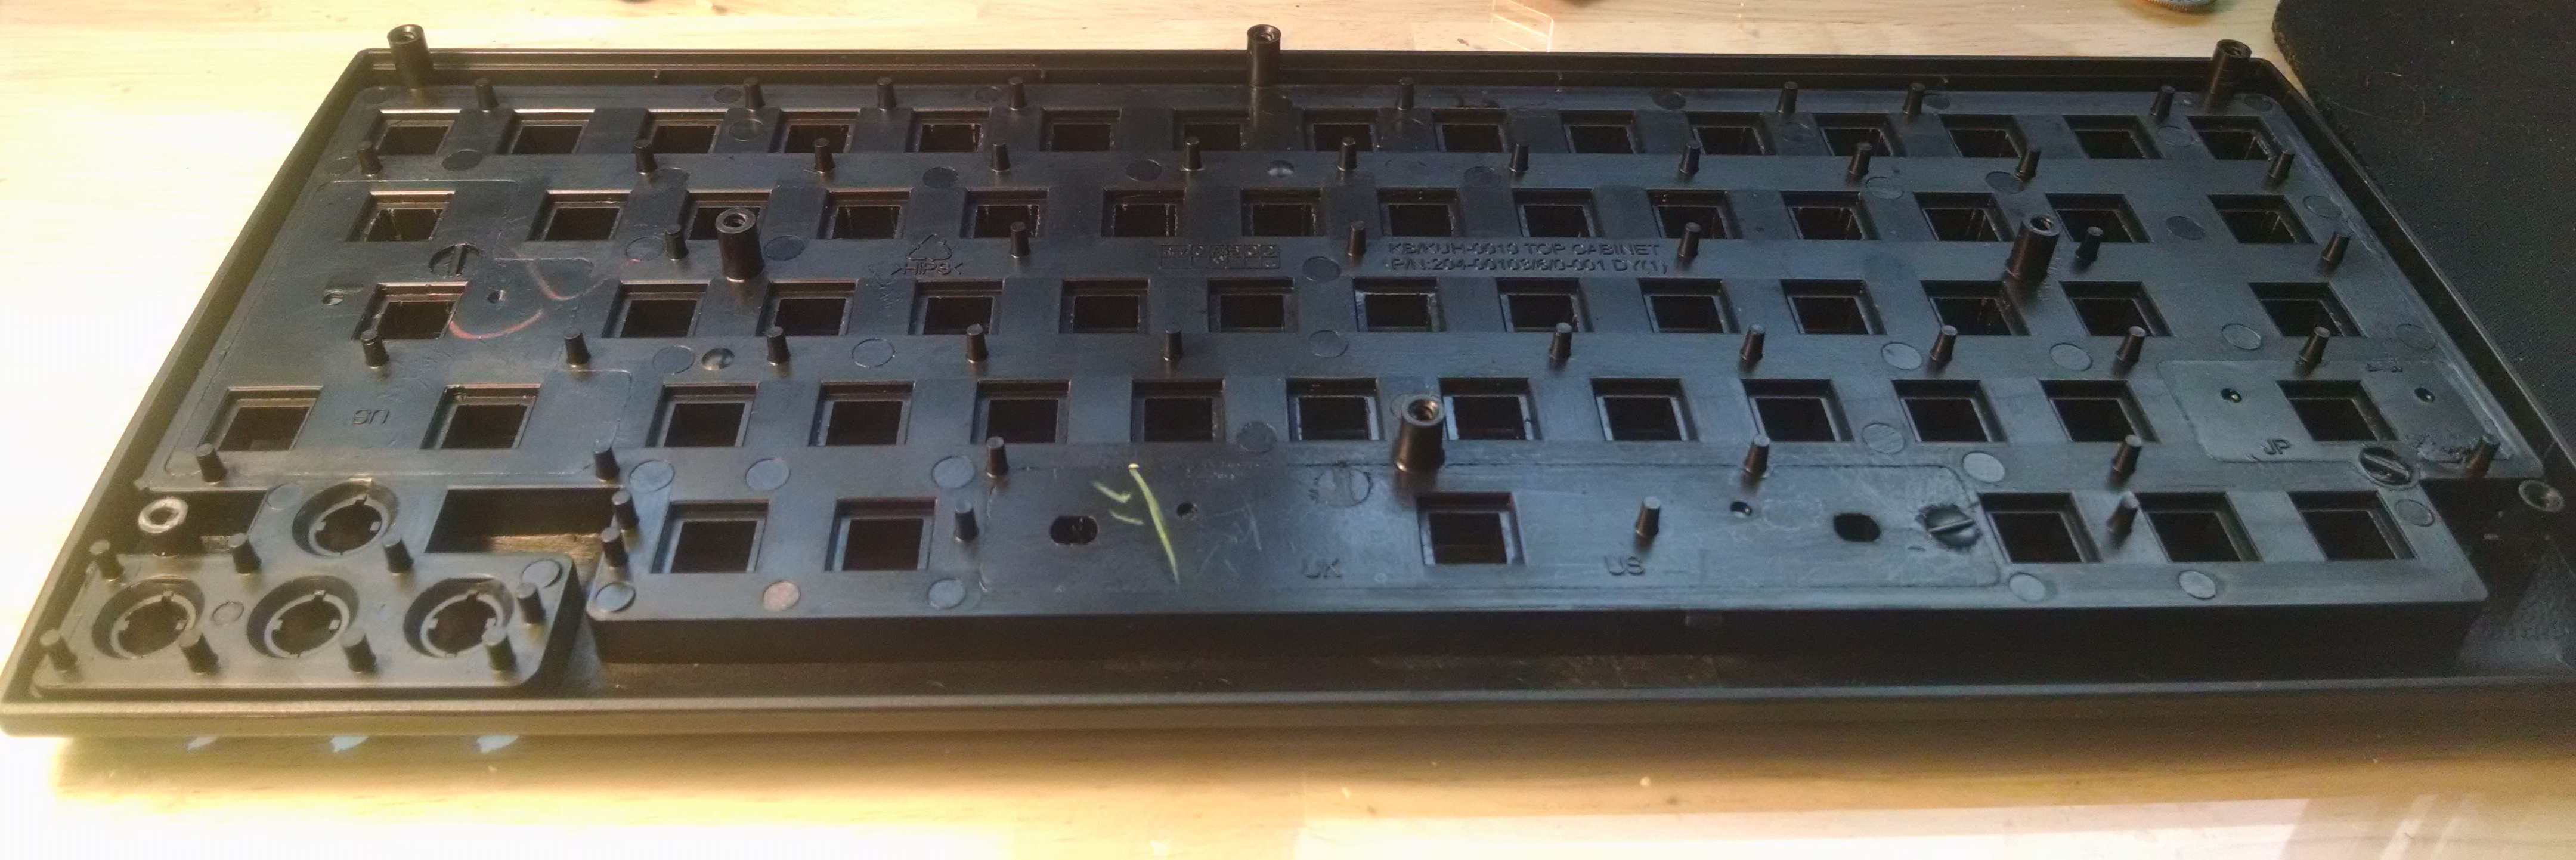
Bottom of the Front Plate without Keys
Keys
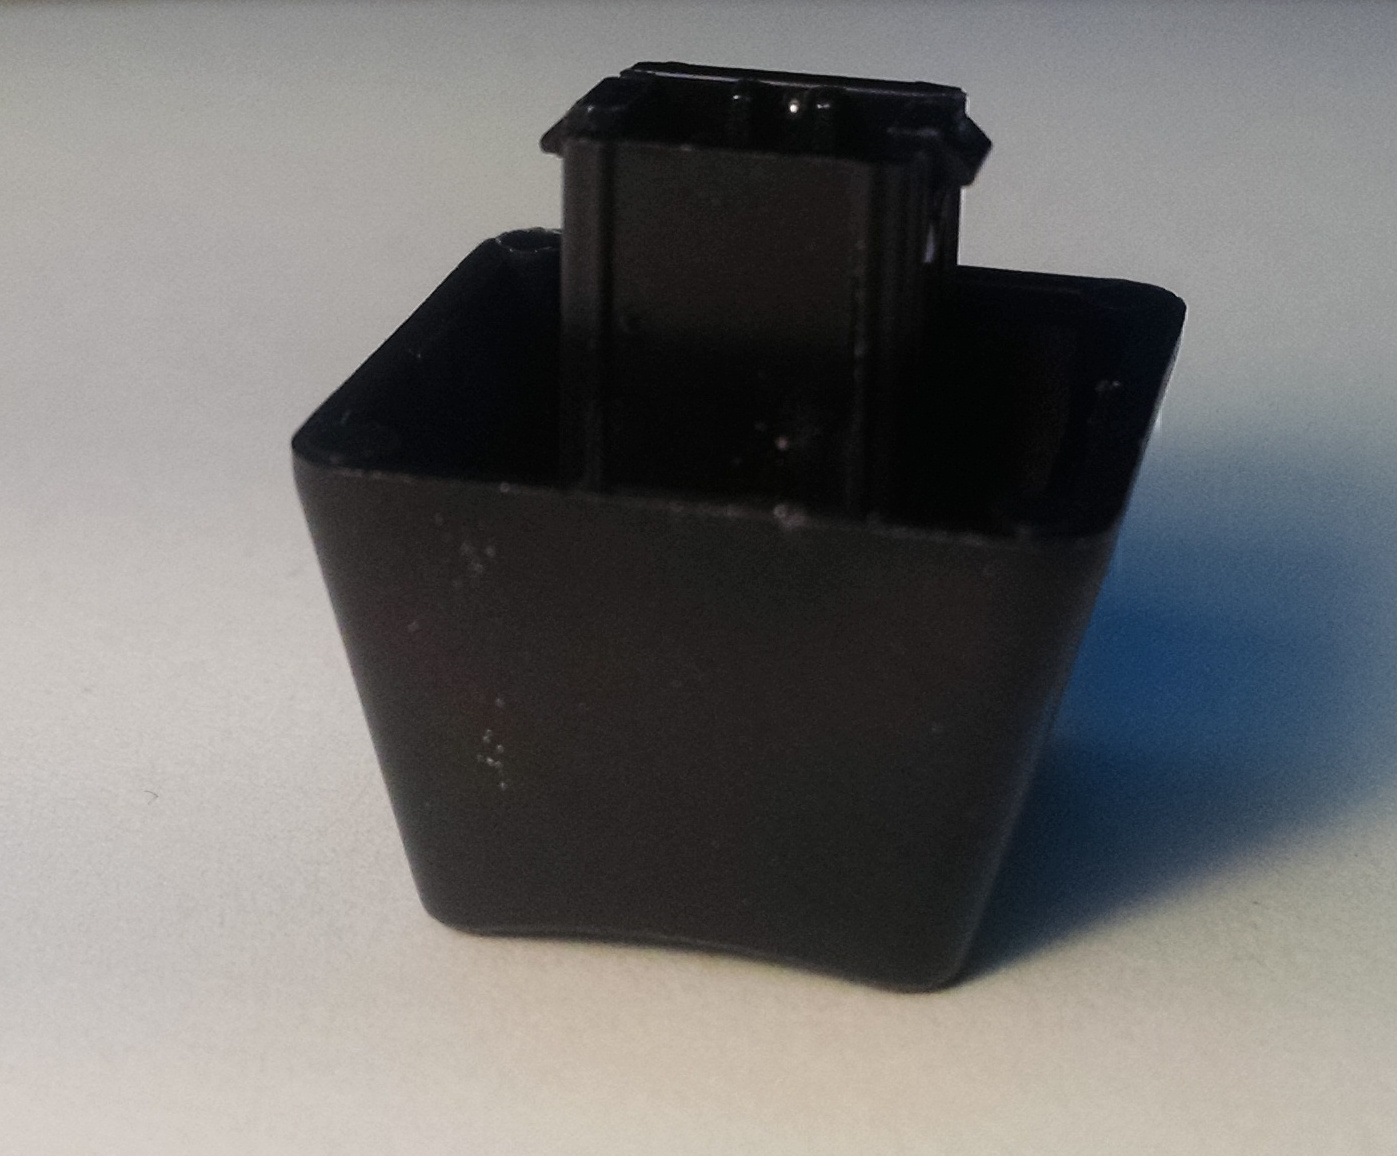
Side view of a key
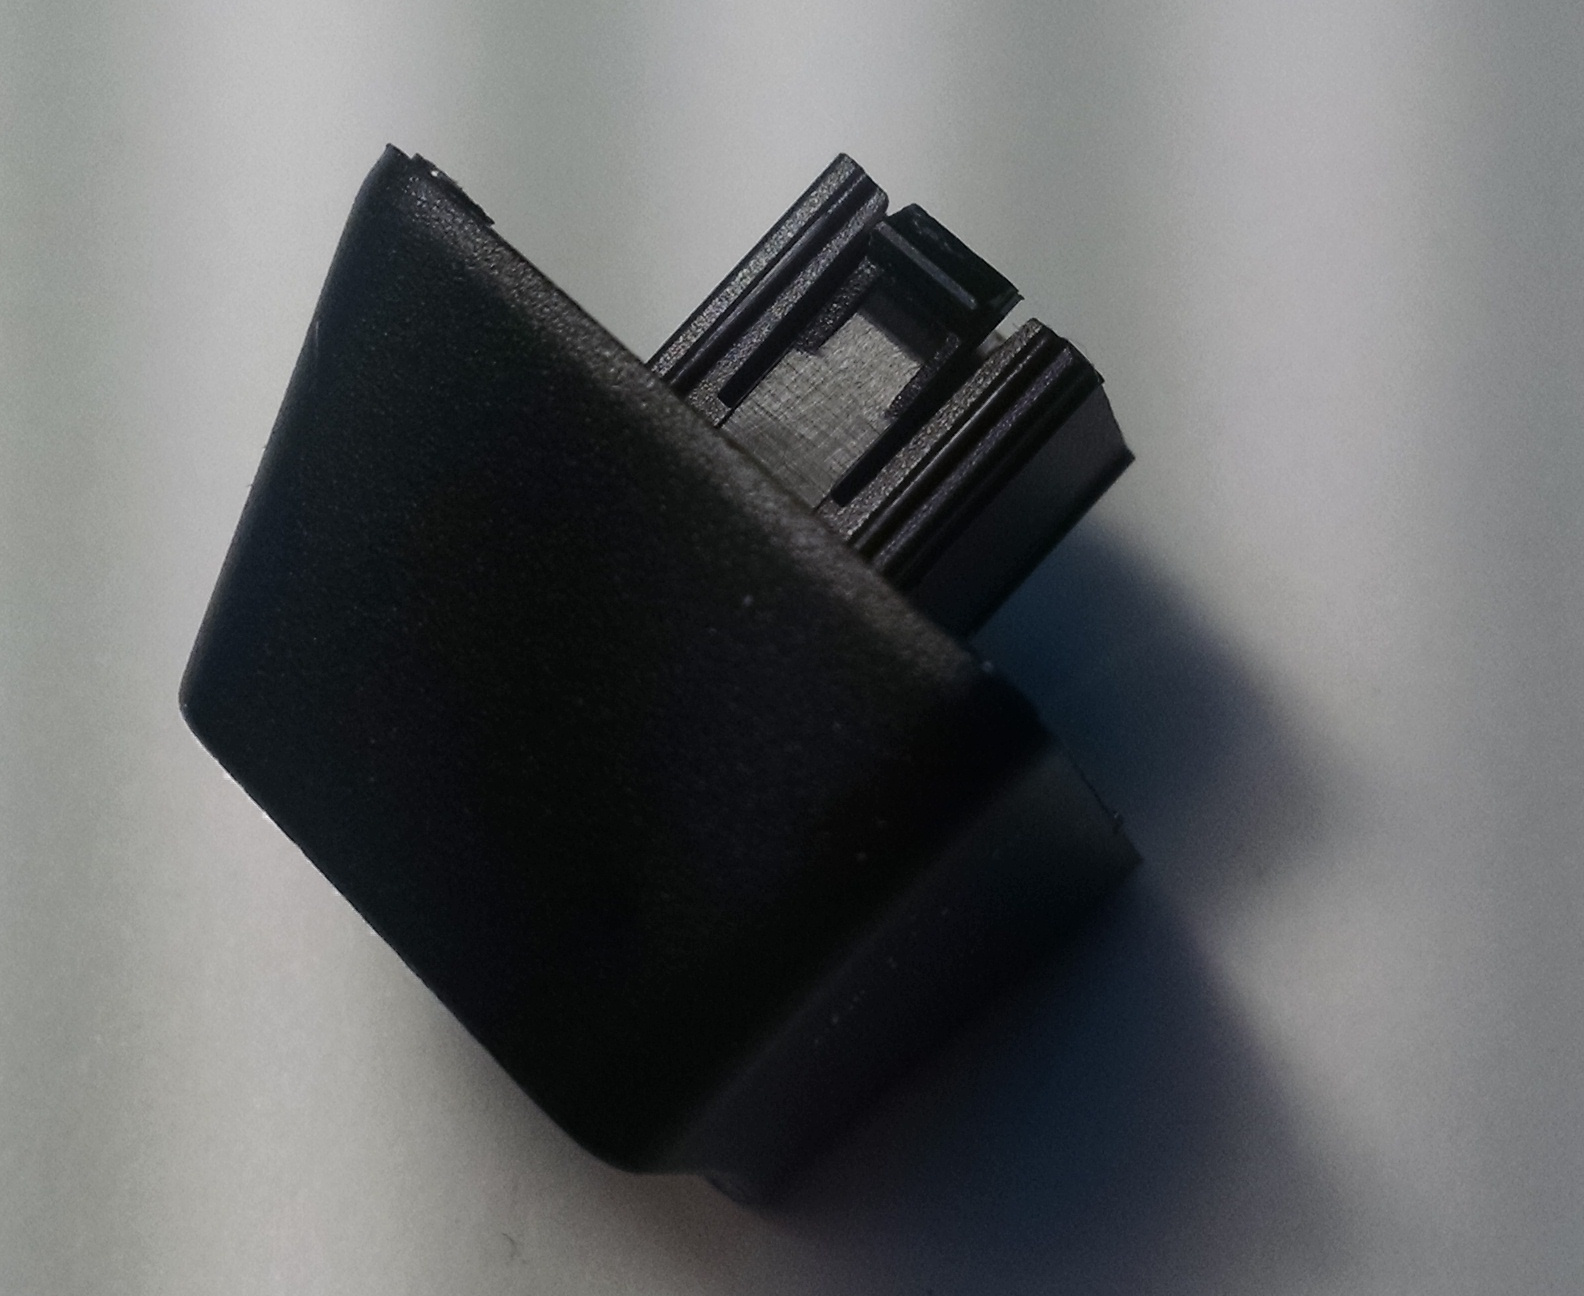
Top view of a key

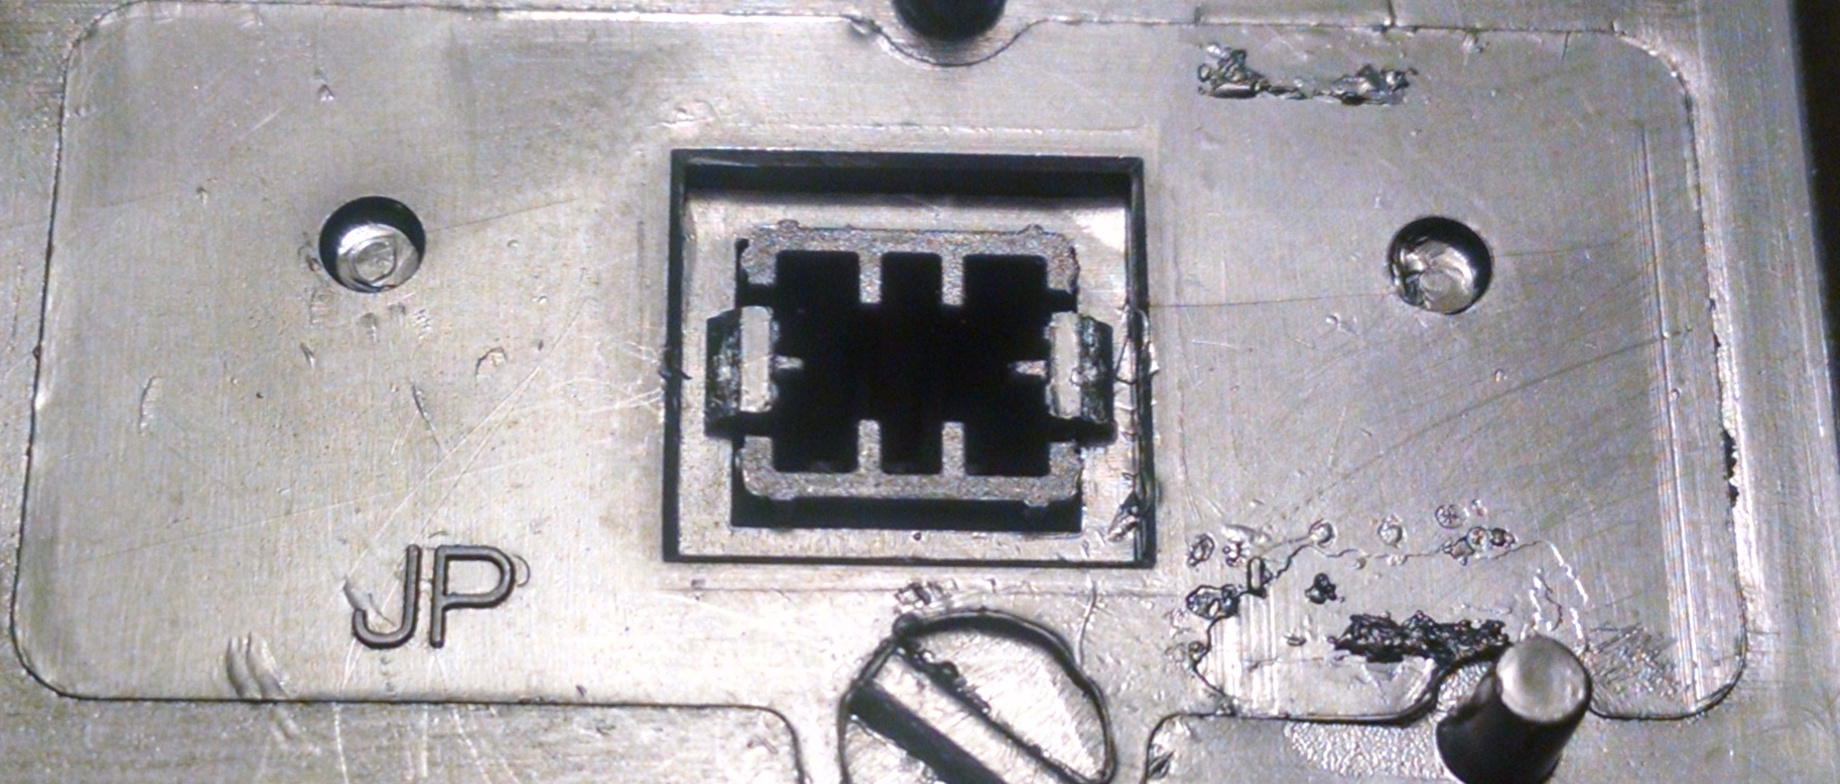
The tabs more clearly
The back of the front cover assembly with a key clipped in
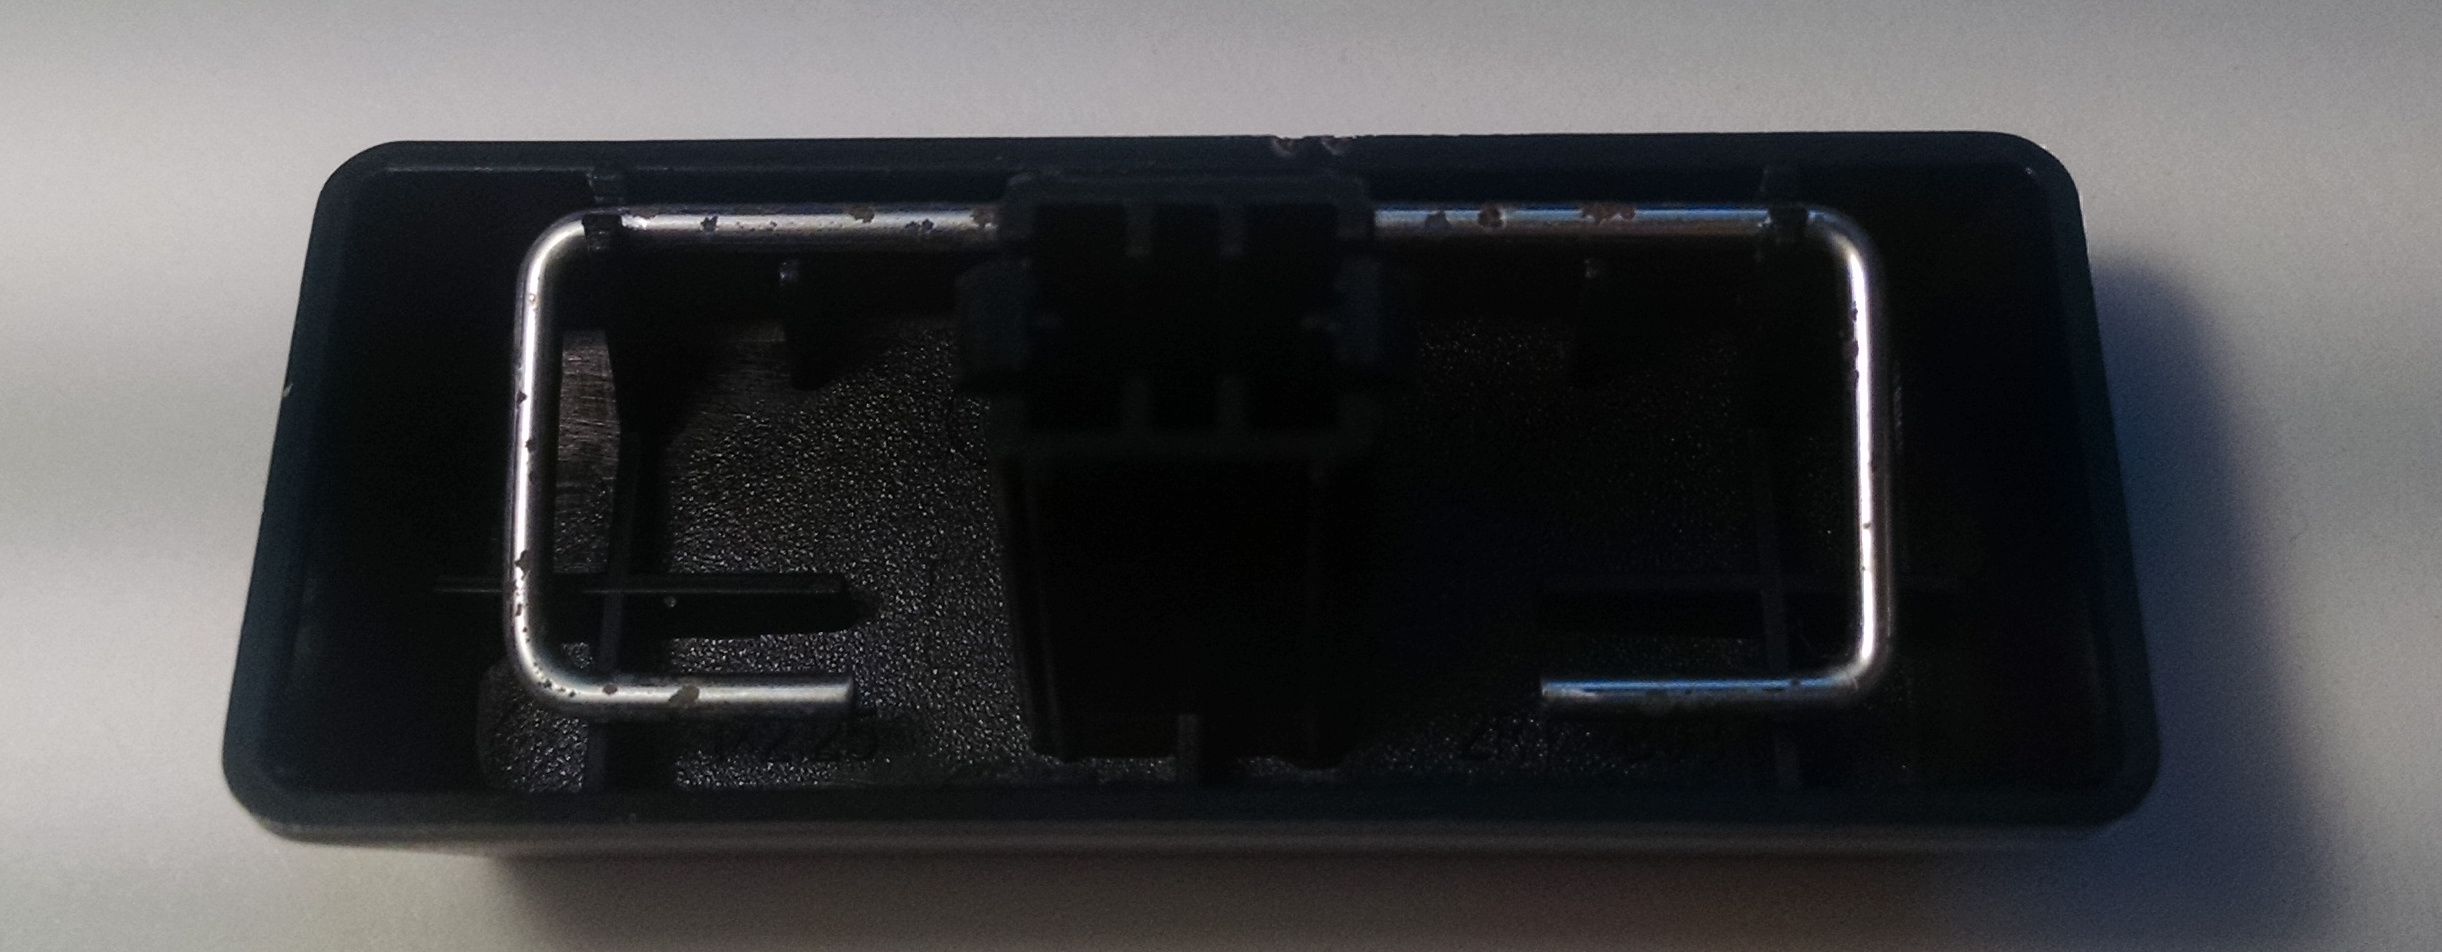
The left shift, space, and enter keys have a bent wire insert clipped in.
After taking the keys off, I was very pleased with the design of the front plate. It traps all the debris and spills in the front plate, up to about a quarter inch of liquid. Of course, that trapping action is why I had to clean the keyboard, but I'd rather periodically disassemble and clean the front-plate than buy a new keyboard.
Cleaning
I cleaned the disassembled keys and front-plate in warm soapy water, scrubbing with an old toothbrush. It worked well, and did not take very long. Temperature wise, it does seem like the plastic castings could hold up in the dishwasher, although I'm not certain about the lettering. The front cover is marked HIPS, for "High Impact Polystyrene", which has a maximum operating temperature of 140°F and a melting point of 214°F (according to this website). GE has a page which specifies the operating temperature range of dishwashers between 120 and 150°F. If you're impatient, it probably won't melt your keys if you put them in the dishwasher, but I'll stick to the manual method, it wasn't that inconvenient.
Reassembly
Reassembly is also easy. Replace the wire clips in the keys they came out of, press the keys back into their correct locations, refit the front-plate to the back, and replace the screws. The only concern is over-tightening the screws and striping the mounts.